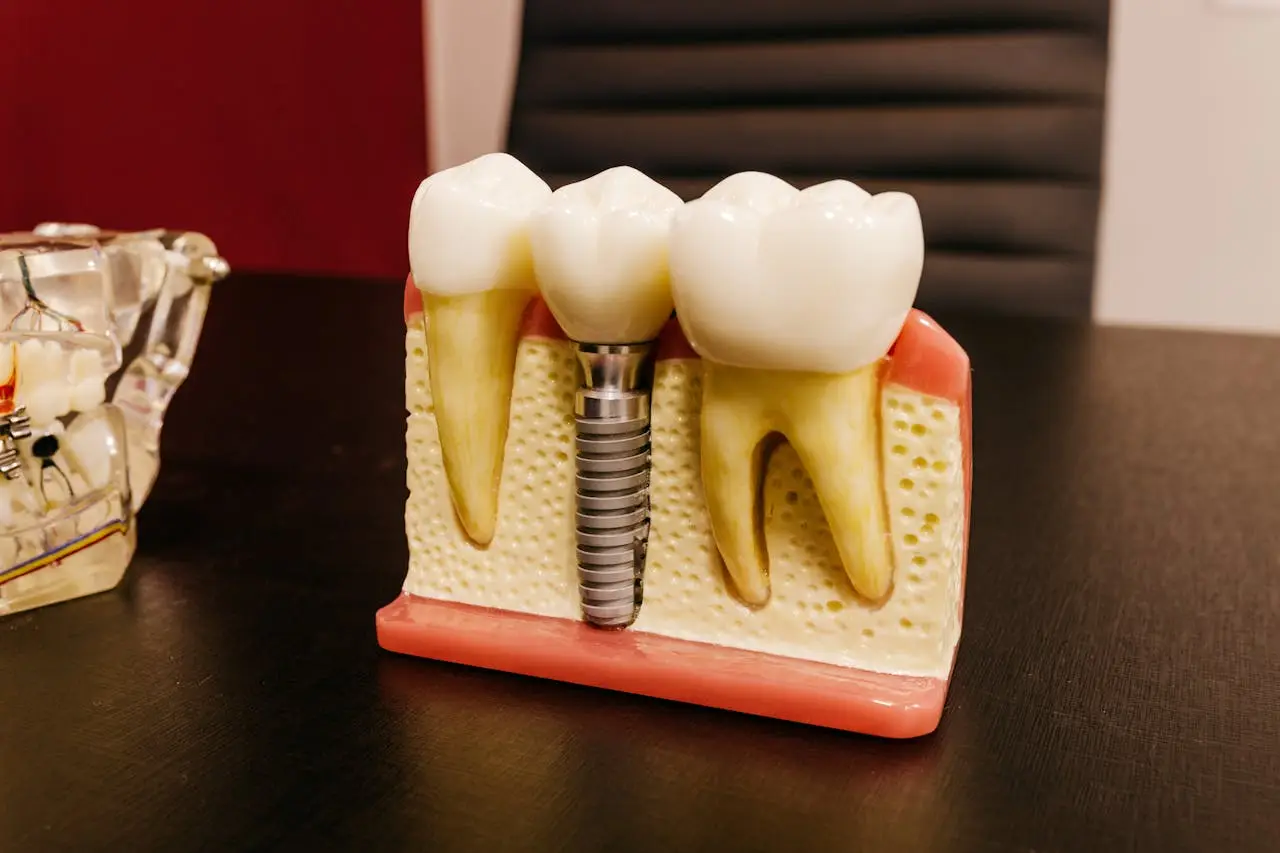
Does Every Black Stain on Your Teeth Deserve a Filling?
True Story A 26-year-old patient walked into my clinic a few weeks ago, holding her jaw, worried about a filling that had come loose. It was a small, routine problem — the kind we fix it easily. But what she told me next is the reason I’m writing this.Before coming to me, she had been examined elsewhere and advised ten fillings in a single sitting. Ten, at twenty-six.
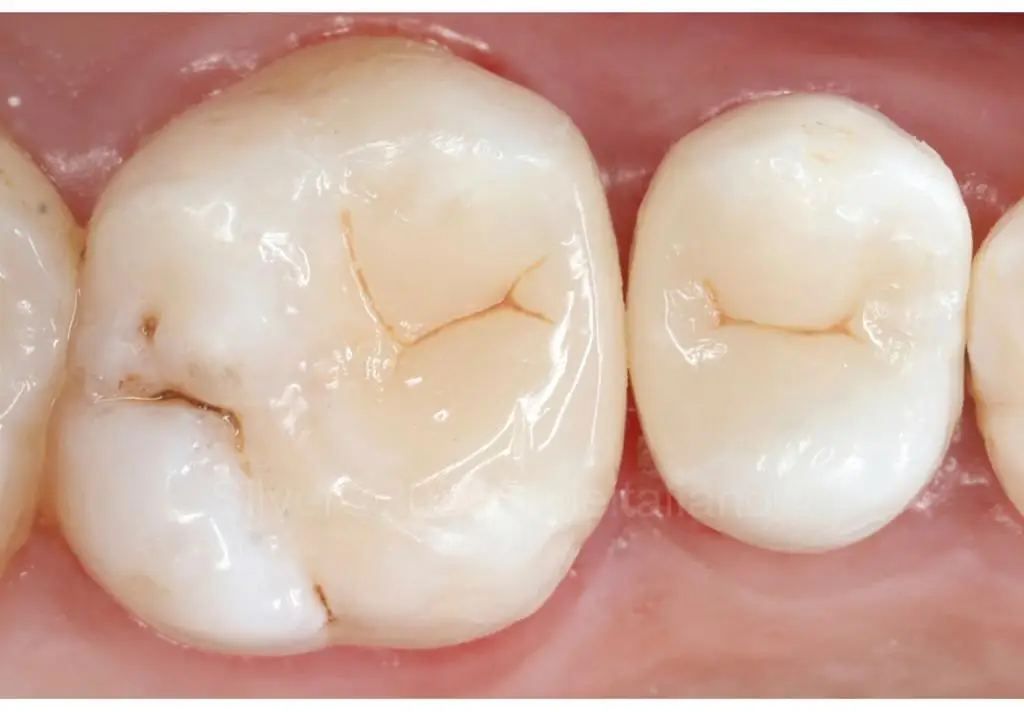
When I sat her down under the dental operating microscope — the instrument I use for every patient, every day — here is what I actually found: decent oral hygiene, a couple of old fillings that genuinely needed replacing, and several teeth with nothing more than staining in the natural pits and fissures of the tooth surface. No decay reaching into the dentin. No breakdown of tooth structure. Nothing that a drill needed to touch.
She didn’t need ten fillings. She needed two, a proper explanation, and a lot less fear than she’d walked in with. This article is that explanation, written out in full — including the treatment options that actually correspond to each stage of a stain, and what a patient can do at home to make sure it never gets that far.
Not All Black Is Decay
A dark spot on a tooth can mean several different things, and dentistry today has a well-established way of telling them apart. Most modern caries research uses a staging framework called the International Caries Detection and Assessment System (ICDAS), which grades a lesion from a sound surface all the way to an extensive cavity based on how far it has actually penetrated the tooth — not how it looks to the naked eye. In broad, patient-friendly terms, the stages look like this:
- Sound surface / surface staining — pigment from food, tea, coffee, tobacco, or bacterial biofilm sitting on an otherwise intact tooth. Cosmetic. Not disease.
- First visible enamel change — a faint chalky white or light brown mark, visible mainly once the tooth is dried. The enamel surface is still intact.
- Distinct visual change / established enamel lesion — a more clearly visible white or brown spot, still without a physical hole.
- Localized enamel breakdown — a small surface break, but no visible involvement of the dentin underneath.
- Underlying dentin shadow — a dark shadow visible through the enamel, showing the decay has likely reached the dentin, even without an obvious hole.
- Distinct cavity with visible dentin — an actual hole, with dentin exposed.
The reason these matters to you as a patient is simple: stages 1–3 is, in the majority of cases, manageable without a drill. It’s only from stage 4 onward — when there’s a real shadow in the dentin or an actual cavity — that restorative treatment becomes the standard of care. Research in the Journal of the American Dental Association on caries classification systems makes this same point: the whole purpose of staging a lesion properly is to match the treatment to the actual disease stage, rather than treating every visible mark the same way.
Treatment Options, Matched to the Actual Stage
Here is what a stain-to-filling decision should actually look like when it’s done properly — a ladder of options, not a single default.
Stage 1–2: Surface stain or early white/brown spot — No filling
At this stage, the correct “treatment” is often no drilling at all. Options include:
- Professional cleaning and polishing to remove surface stain.
- Fluoride varnish application, done in-clinic every few months. Fluoride helps redeposit minerals into the enamel and makes it more resistant to future acid attack.
- CPP-ACP remineralizing agents (casein phosphopeptide–amorphous calcium phosphate, often sold as a paste). Systematic reviews and clinical trials on early caries lesions have found that combining fluoride with CPP-ACP can meaningfully improve remineralization outcomes for occlusal (biting surface) lesions compared to fluoride alone, especially in patients with a genuinely elevated caries risk.
- Diet and hygiene correction — this is often the single biggest lever at this stage.
Stage 3: Established enamel lesion, still no cavity — Micro-invasive options
If a lesion is monitored over time and shows it’s actually progressing (not just sitting there), the next step still isn’t a conventional filling:
- Pit and fissure sealants — a thin resin coating flowed into the grooves of the tooth. A two-year clinical study on sealing lesions in this exact stage range found that resin-based sealants were effective at arresting early lesions classified in this range, though effectiveness dropped once the lesion was more advanced — which is exactly why correct staging matters before choosing a treatment.
- Resin infiltration (marketed under names like Icon) — a technique where a low-viscosity resin is infiltrated into the porous, demineralized enamel, sealing it from within without removing healthy tooth structure. Systematic reviews of non-cavitated lesions treated this way report caries-arresting performance broadly comparable to conventional sealants, with some longer-term trials showing sustained arrest at multi-year follow-up. It’s considered a genuinely micro-invasive alternative to drilling, particularly useful for lesions between teeth that are hard to reach with a brush.
Stage 4: Dentin shadow, no visible hole yet — Judgement call, often still conservative
This is the grey zone, and it’s exactly where second opinions matter most. Depending on radiographic depth, symptoms, and how the lesion probes clinically, treatment may still be:
- Continued monitoring with resin infiltration or a sealant, if the lesion is shallow and the patient’s risk factors are controlled, or
- A minimally invasive, conservative filling — removing only the compromised tooth structure and preserving everything else, once there’s genuine dentin involvement.
Stage 5–6: Visible cavity, dentin exposed — Filling is genuinely indicated
Once there’s an actual cavitation with dentin exposed, delaying treatment isn’t conservative — it’s just delaying the inevitable while the lesion gets bigger. At this stage:
- A direct composite filling is the standard, tooth-conserving option for most cavities.
- If decay is extensive and has compromised a large portion of the tooth, an onlay or indirect restoration may be needed to restore strength without a full crown.
- If decay has reached the pulp (the nerve of the tooth) causing pain, swelling, or infection, a root canal treatment followed by a restoration becomes necessary — this is a different problem altogether from a simple stain, and it’s usually accompanied by symptoms, not silence.
The point of laying this out isn’t to make anyone self-diagnose from a mirror. It’s to show that “filling” is not one single answer to every dark mark — it’s the last step on a ladder, and a good exam tells you which rung you’re actually standing on.
What You Can Do Before It Ever Gets to a Filling
Most of what determines whether a stain stays a stain, or becomes a cavity, happens between dental visits, in things a patient control directly:
- Brush twice daily with a fluoride toothpaste, angled into the gumline and the grooves of your back teeth, for a full two minutes.
- Floss or use interdental brushes daily — most missed decay happens between teeth, exactly where a toothbrush bristle can’t reach.
- Cut down on frequency of sugar exposure, not just quantity. Ten small sugary sips through the day cause more acid attacks than one dessert eaten in one sitting.
- Use fluoride mouth rinses or professionally prescribed high-fluoride toothpaste if you’ve been flagged as higher risk.
- Avoid using teeth as tools and treat any change in a tooth’s texture, sensitivity, or colour as a reason to get it looked at — not ignored, and not panicked over.
- Chew sugar-free, xylitol-containing gum after meals when brushing isn’t possible — it stimulates saliva, which is your mouth’s own natural buffering and remineralizing system.
Why Six Months to a Year Actually Matters
None of the micro-invasive options above work if a lesion is only discovered once it’s already a hole. The entire value of a regular check-up is catching a lesion in stage 1–3, while it’s still reversible with fluoride, sealants, or resin infiltration — rather than finding out about it in stage 5 or 6, when a filling is the only option left, or worse, when it’s already reached the nerve.
This is also the only reliable way to tell a stain that is arrested — meaning it stopped progressing on its own, because your hygiene and diet already improved — from one that is active and genuinely getting worse. That distinction can only be made by tracking the same tooth over time, which is exactly what a six-month or annual recall visit is for.
What I Told My Patient
I explained all of this to her, showed her the magnified images of her own teeth, and we agreed on a plan: replace the two fillings that had genuinely failed, place preventive sealants on two more, and put the rest of her teeth on a monitored recall schedule — not ten fillings, not zero treatment, but the actual right amount for what was actually there.
She left relieved — not because I told her nothing was wrong, but because she finally understood why, and had options laid out for her instead of a single verdict.
That’s really what this article is about. Not every black stain deserves a filling. But every patient deserves an honest, staged explanation of the difference — and a dentist willing to give it to them.
FAQ Schema Block (for your WPCode FAQ schema — add near the end of the post)
Q: Does every black spot on a tooth mean I need a filling?
A: No. A black spot can be surface staining sitting only in the natural grooves of the tooth, which often needs no filling at all — only true cavities that have reached the dentin layer require restorative treatment.
Q: Can a black stain go away without a filling?
A: Yes, in its early stages. Professional cleaning, fluoride varnish, and remineralizing agents can often stop or reverse a stain before it becomes a cavity.
Q: How can a dentist tell if a stain needs a filling?
A: Through clinical examination under magnification, sometimes supported by radiographs, to check whether the lesion has penetrated past the enamel into the dentin.
Q: How often should I get a dental check-up to catch this early?
A: Every six months to a year, so a stain can be tracked over time and treated conservatively before it ever becomes a cavity.